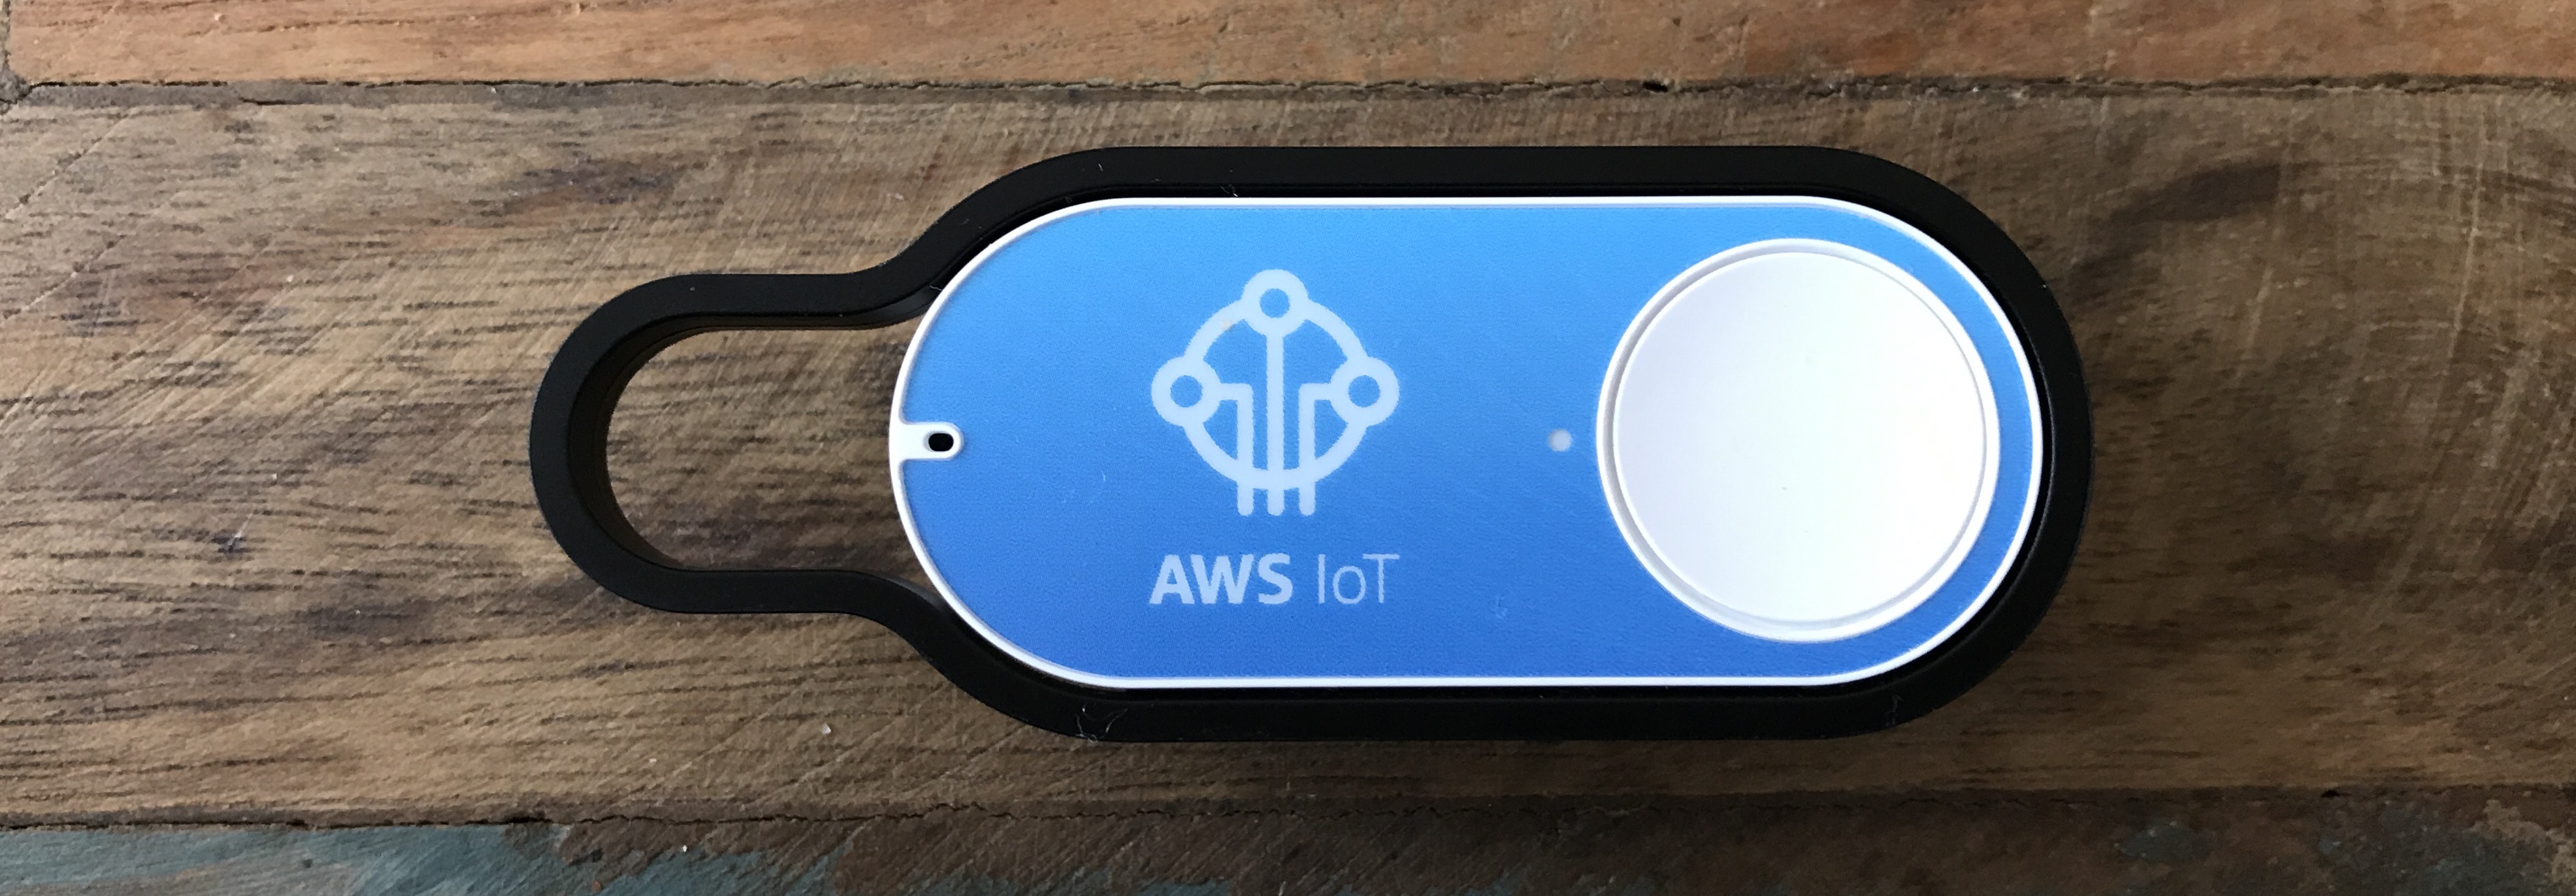
AWS IoT Button: Hue Lights 27 June 2017

I picked up one of these as it looked like a good way to jump into AWS IoT. Following the instructions at Getting Started with AWS IoT gave me mixed results, as when I tried registering the button I got a new set of configuration automatically generated alongside the ones I’d just created in the steps before, and neither worked. Removing them all and starting again gave me a setup that worked.
I was then able to use the guide at IoT Button Lambda to send an email notification to myself whenever the button was pressed (though I had to explicitly grant SNS permissions to my lambda function for this).
Hue Lights
Receiving an email for pressing a button isn’t exactly an exciting use case so I decided to hook it up to my Hue Lights using IFTTT.
IFTTT
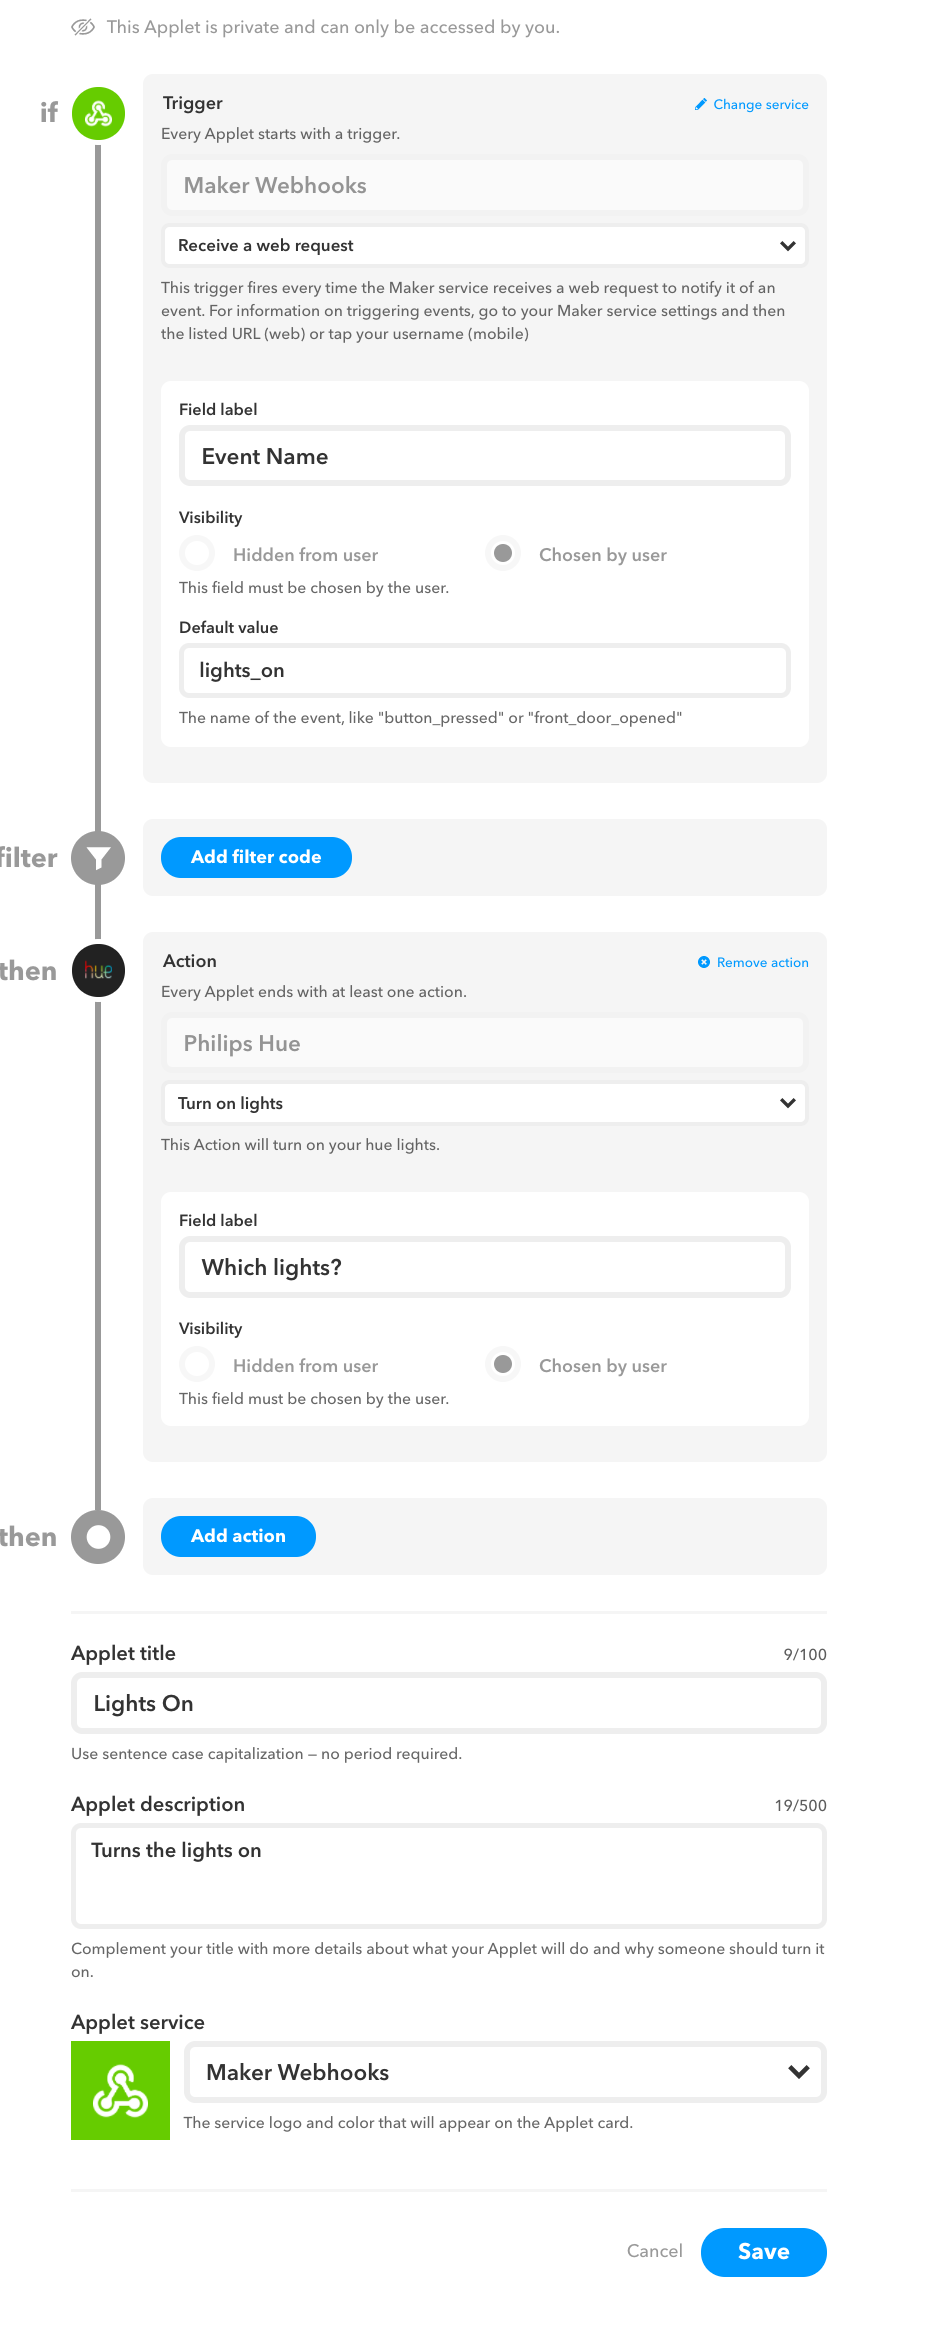
To do this I had to enable IFTTT Maker and create some private applets to turn my lights on and off. There are two important pieces of information to note when doing this:
- Your IFTTT key (you can find this at: Your IFTTT Maker Settings)
- The name of the event that you create (“lights_on” in the example below)
The URL that you call to execute the IFTTT applet is: https://maker.ifttt.com/trigger/{event}/with/key/{key}

AWS Lambda
Next I created a Lambda function in AWS assigning the IoT Button I’d set up at the start as the trigger. Then it was just a matter of creating the code to hit my IFTTT endpoints when the button press events were recevied:
'use strict';

const https = require('https');

const ON_EVENT = process.env.on;
const OFF_EVENT = process.env.off;
const IFTTT_ID = process.env.ifttt_id;

function callWebHook(eventId, endpointId, callback) {
    var url = 'https://maker.ifttt.com/trigger/' + eventId + '/with/key/' + endpointId;

    const req = https.request(url, (res) => {
        let body = '';
        console.log('Status:', res.statusCode);
        console.log('Headers:', JSON.stringify(res.headers));
        res.setEncoding('utf8');
        res.on('data', (chunk) => body += chunk);
        res.on('end', () => {
            console.log('Successfully processed HTTPS response');
            console.log(`Received IFTT response: ${body}`);
            callback(null, body);
        });
    });
    req.on('error', callback);
    req.end();
}

/**
 * The following JSON template shows what is sent as the payload:
{
    "serialNumber": "GXXXXXXXXXXXXXXXXX",
    "batteryVoltage": "xxmV",
    "clickType": "SINGLE" | "DOUBLE" | "LONG"
}
 *
 * A "LONG" clickType is sent if the first press lasts longer than 1.5 seconds.
 * "SINGLE" and "DOUBLE" clickType payloads are sent for short clicks.
 *
 * For more documentation, follow the link below.
 * http://docs.aws.amazon.com/iot/latest/developerguide/iot-lambda-rule.html
 */
exports.handler = (event, context, callback) => {
    console.log('Received event:', event.clickType);

    if (event.clickType === 'SINGLE') {
        callWebHook(ON_EVENT, IFTTT_ID, callback);
    } else if (event.clickType === 'LONG') {
        callWebHook(OFF_EVENT, IFTTT_ID, callback);
    } else {
        console.log(`Unsupported event ${event.clickType}`);
    }

};
This code expects three environment variables to be passed in:
- on: the name of the IFTTT event that turns the lights on
- off: the name of the IFTTT event that turns the lights off
- ifttt_id: the key that identifies the IFTTT maker account
Now a single press turns my lights on and long one turns them off.
Conclusion
IFTTT
I found the IFTTT site and configuration a little hard to get around at first. I was using the applet ID rather than the event name to try and trigger the applet for a long time which didn’t help either.
AWS IoT Button
The IoT Button itself isn’t exactly practical. All it’s doing is sending events to a queue which could easily be simulated using software. Now it’s nice to have a bit hardware that you can connect up to do this but leads to the main failing of the IoT Button, and that is that the battery isn’t replaceable. You get around 1000 clicks out of the device, then it dies and has to be thrown away. Depressingly wasteful. Because of this I certainly won’t be getting another one.


